Fitting
INSTALLATION
Concrete Pavers
Proper base material should always be used even if you feel that your underlying sub-grade is suitable. Remember to adjust grade for proper drainage.Remember that once sand bedding is installed and leveled, to not disturb prior to laying of pavers.

Step 1:
Preparing the Base
Excavate all unsuitable, unstable, or unconsolidated sub-grade material. When estimating the depth of excavation, consider the final grade of the project. Add the height of the paver unit, the depth of bedding sand, and the thickness of the compacted base material to get an estimate of needed depth.
Step 2:
Bedding Sand
Clean, sharp concrete sand, 1" deep, should be used for the sand bedding. To determine the amount of sand needed, allow 1 cubic yard of sand per 300sqft. For help estimated the amount of product needed, contact an RCP Block & Brick near you.
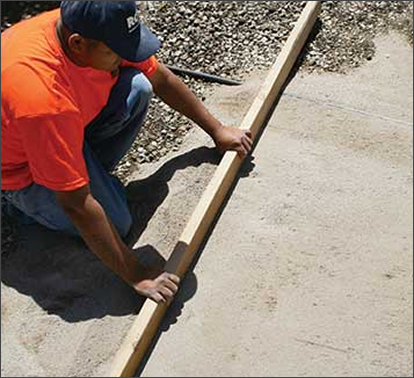
Step 3:
Edge Restraint
If an existing hard edge restraint (such as the side of a house) does not exist, you will need to either install a pre-manufactured polyethylene restraint such as "Edge-Pro: or install a concrete restraint.

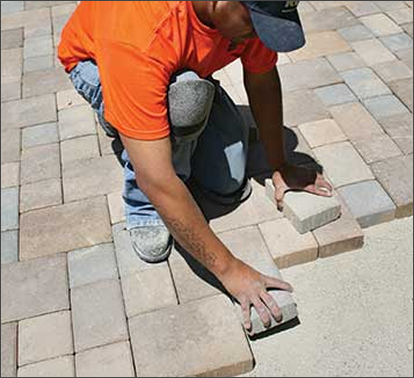
Step 4:
Laying the Pavers
When laying the pavers onto the bedding sand, you want to work in a forward motion. Start the process in either a 90° corner or within the field by using a pre set string to guide straightness of pavers. Do NOT step on the bedding sand.
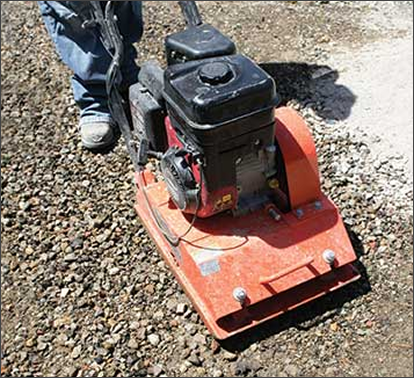
Step 5:
Vibrate the Pavers
Rent a vibrating plate compactor from your local equipment rental company. Once the pavers and border have been placed, spread a light layer of sand over the pavers and make a single pass using this plate compactor.
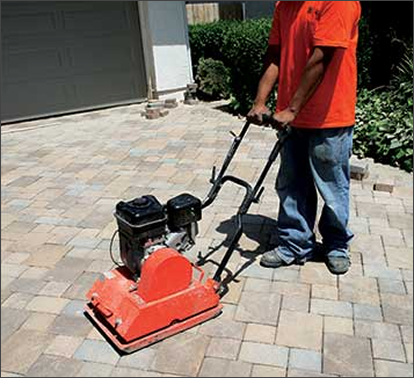
Step 6:
Sanding the Pavers
Spread dry paver joint sand or masonry sand over the surface of the paver area approximately 1/4" deep. Using the vibrating plate compactor, pass over the sanded pavers to allow sand to properly fill the voids between the pavers.
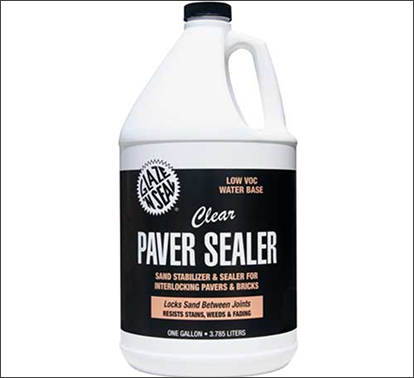
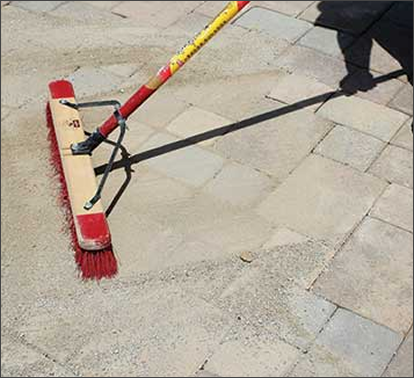
Step 7:
Seal the Project
Adding a paver sealer will help both protect the pavers, but will also enhance their appearance. RCP carries a full line of concrete paver sealers from leading manufacturers. For application instruction on concrete paver sealers, follow the instructions provided by the manufacturer.